If you have seen posts about clay and have been envious but too overwhelmed with how, I am here to help. I think clay is one of the art foundations that every child should begin to play with. Yes, playdough is wonderful but does not use the same cognitive skills or is open to actually building, creating, and learning about gravity and creativity in the same regard. I have written this simple guideline in hopes of turning more mama’s, studio owners, or classrooms into watching the magic clay brings. Clay is wonderful for all ages, but if your child is still putting things in their mouth wait. Clay is made from the earth, however, to have a product made for sculpting and durability there are elements added that should not be ingested.
Clay is one of the most versatile art mediums and so important to children's creativity as it's one of the first mediums that introduces children to three-dimensional work. My studios have been using air-dry clay for approximately 20 years and through this time we've definitely had some clays that have worked in many that have not. I'm hoping to save you time and money with what I have learned.
HOW to use air-dry clay:
Depending on what you're making air-dry clay can be sculpted, used for slab work, used in the slump molds or hump molds, and you don't have to worry about the thickness like you would for clay that would be fired in the kiln. Air-dry clay however is not meant to eat or drink out of, or to place outdoors. It is not water proof.
After years of experimenting and research we currently only use Laguna white or red mexo clay. This clay is very malleable and when dried is not as fragile as all the other air dry clays we have used over the last couple of decades. I have included links to purchase, but also check out your local clay supply store.
Because of my art degree background, art studios safety is always number one. With this in mind know that many air-dry clays create a dust. This dust is toxic, so when cleaning up make sure you always clean with water and a sponge, then dry with a towel. Please don't take this step lightly as the dust does get into your lungs and your children’s lungs and does not have the ability to work its way out, and in essence making it worse than smoking. DON’T worry though, it is very easy to clean and when clay is wet is VERY SAFE.
To finish your clay work we have tried a few options. My absolute favorite is using an opaque watercolor, my favorite is Pelikan) something with a lot of pigment, and then using a clear spray paint to create a shine and also seals the work, Mod Podge brushed on also works. This is the closest we have come to a glazed finished look. Other options are acrylic, liquid watercolor, or paint pens.
If you would like to try out air-dry clay our Do ART! kits have a how to, guided projects, and added sparkly goodies for an afternoon of fun! A great way to see if you want to dive deeper into bringing clay into your child’s world!
Hints and tips:
•use a sharpened chopstick as a tool for cutting, scoring, or drawing into clay
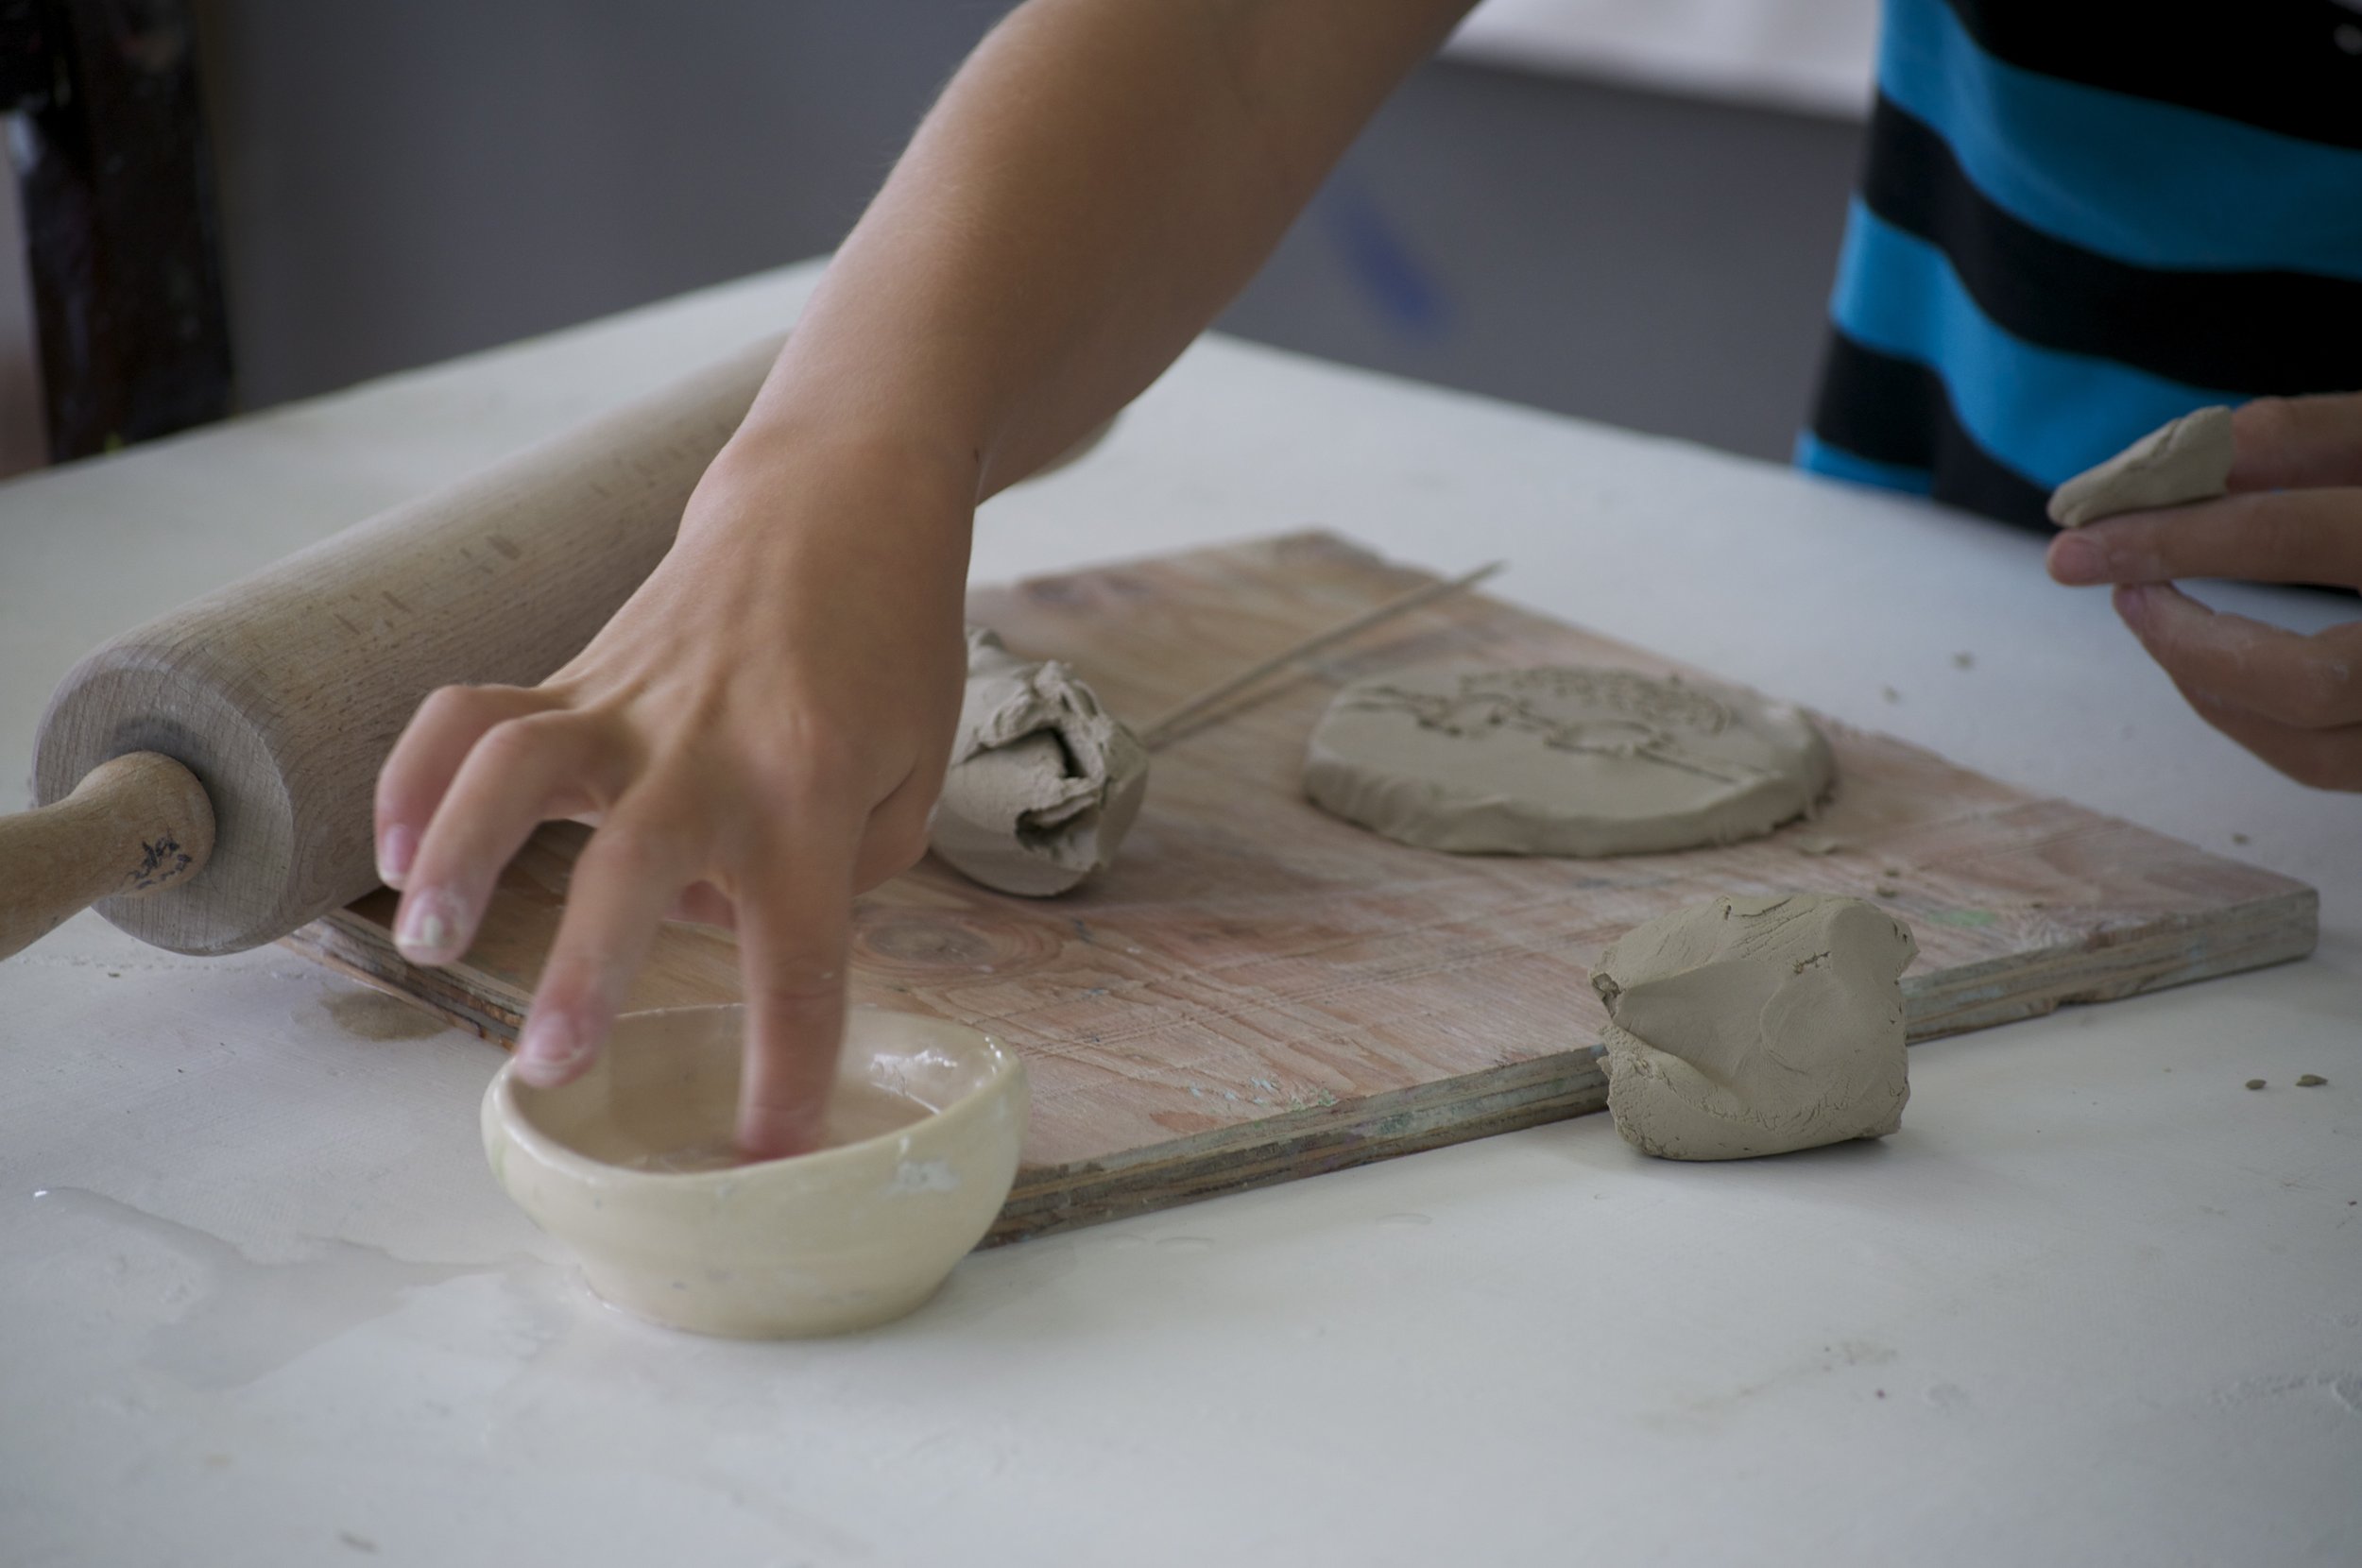
•using vinegar water (1-3 ratio) for attaching is easy an amazingly successful (scoring isn’t necessary when using “magic water” or “stinky water”
•for a working surface Dollar Tree Cutting Boards work well (or any flexible plastic cutting board). Easy cleanup!
•If you would like a nonstick surface for rolling out clay our studios use cut plywood that can be washed up after each use. If looking for easier storage options primed canvas works well too and easy to fold and put away.
•If using air-dry clay draped over or around a form, clay shrinks so you must remove the form within approximately one hour or else as the clay shrinks your work will crack
•when using a form, wrap newspaper around so it won’t stick and is easy to remove


